Creating luxuriously smooth pistachio ice cream at home transforms simple ingredients into a sophisticated dessert that rivals any artisanal scoop shop. This recipe captures the pure essence of pistachios while delivering the silky texture we all crave in premium ice cream. Let me guide you through crafting this elegant frozen treat in your own kitchen.
Table of Contents
The Magic of Pistachio Ice Cream
The secret to exceptional homemade ice cream lies in understanding how each ingredient contributes to the final product. Real pistachios, not artificial flavoring, create that distinctive nutty richness that makes this ice cream special. When combined with a properly prepared custard base, the result is a perfectly balanced dessert that’s both sophisticated and comforting.
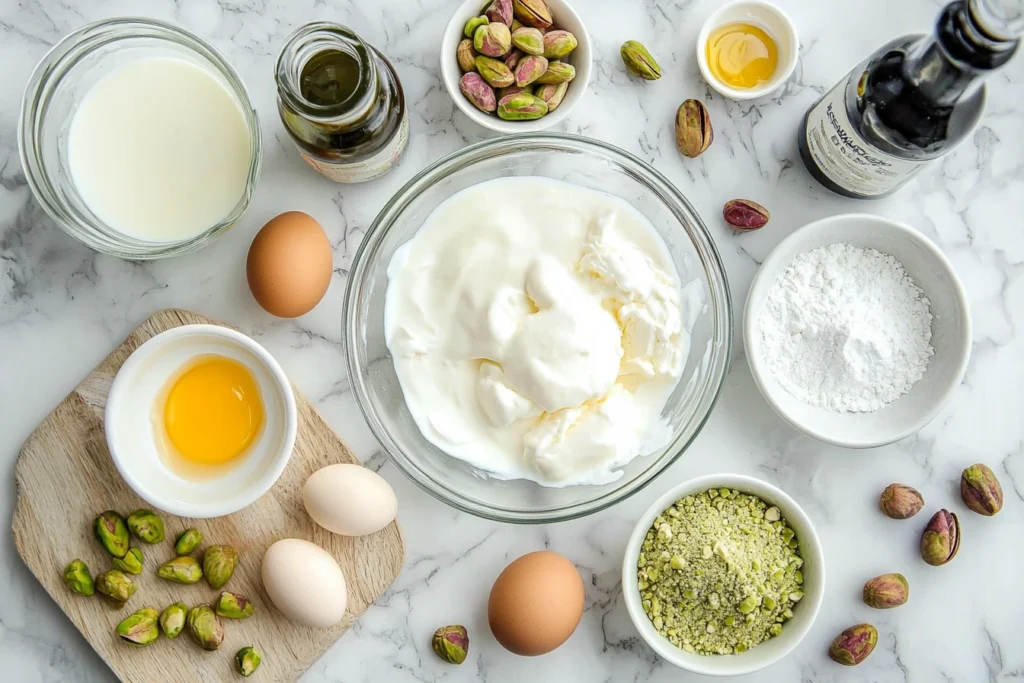
Ingredients
For the Ice Cream Base:
- 2 cups heavy cream
- 1 cup whole milk
- ¾ cup granulated sugar
- 4 large egg yolks
- ¼ teaspoon pure vanilla extract
- ⅛ teaspoon almond extract (optional)
- Pinch of salt
For the Pistachio Flavor:
- 1 cup shelled pistachios, unsalted
- ¼ cup pistachio paste (homemade or store-bought)
- Additional chopped pistachios for garnish (optional)

Equipment Needed:
- Ice cream maker
- Medium saucepan
- Large mixing bowl
- Fine-mesh strainer
- Food processor or blender
- Thermometer (recommended)
- Freezer-safe container
- Rubber spatula
- Whisk
Step-by-Step Instructions
Preparing Your Pistachios
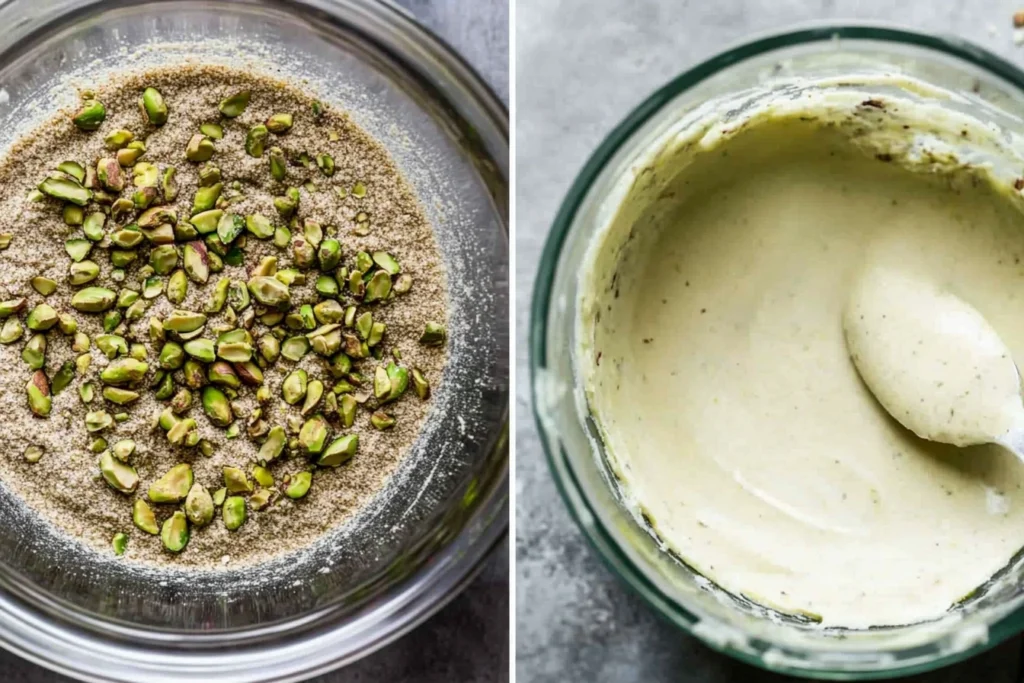
Start your homemade pistachio ice cream journey by preparing the star ingredient. Toast your pistachios in a dry skillet over medium heat for 5-7 minutes, stirring occasionally. This gentle toasting awakens the natural oils and intensifies their flavor. Once cooled, pulse them in a food processor until finely ground, but stop before they turn into butter. This creates the perfect texture for infusing your ice cream with authentic pistachio flavor.
Creating the Custard Base
Begin by warming the heavy cream and milk in a medium saucepan over medium heat. Meanwhile, whisk together the egg yolks, sugar, and salt in a large bowl until the mixture becomes pale and slightly thickened. This crucial step creates the foundation for an exceptionally creamy ice cream texture.
When your dairy mixture reaches a gentle simmer (around 180°F), it’s time for tempering. Slowly pour about a cup of the hot cream mixture into your egg mixture while whisking constantly. This gradual process prevents the eggs from scrambling and ensures a silky-smooth custard. Pour the tempered egg mixture back into the saucepan, whisking continuously.

Developing the Perfect Texture
Cook your custard over medium-low heat, stirring constantly with a rubber spatula, until it thickens enough to coat the back of a spoon. When you run your finger across the coated spoon, it should leave a clear path that doesn’t run together. This typically occurs around 175°F on a thermometer. Immediately remove from heat to prevent overcooking.
Adding the Pistachio Flavor
Strain your custard through a fine-mesh sieve into a clean bowl, then stir in your ground pistachios, pistachio paste, vanilla extract, and almond extract if using. The warm custard will continue extracting flavor from the pistachios as it cools. Cover the surface directly with plastic wrap to prevent a skin from forming, then refrigerate until completely chilled, at least 4 hours or overnight.
Churning Your Ice Cream
When your base is thoroughly chilled, it’s time for the transformation into pistachio ice cream. Pour the mixture into your ice cream maker and churn according to the manufacturer’s instructions, usually 20-25 minutes. The ice cream is ready when it reaches a soft-serve consistency and has increased in volume.
Freezing to Perfection
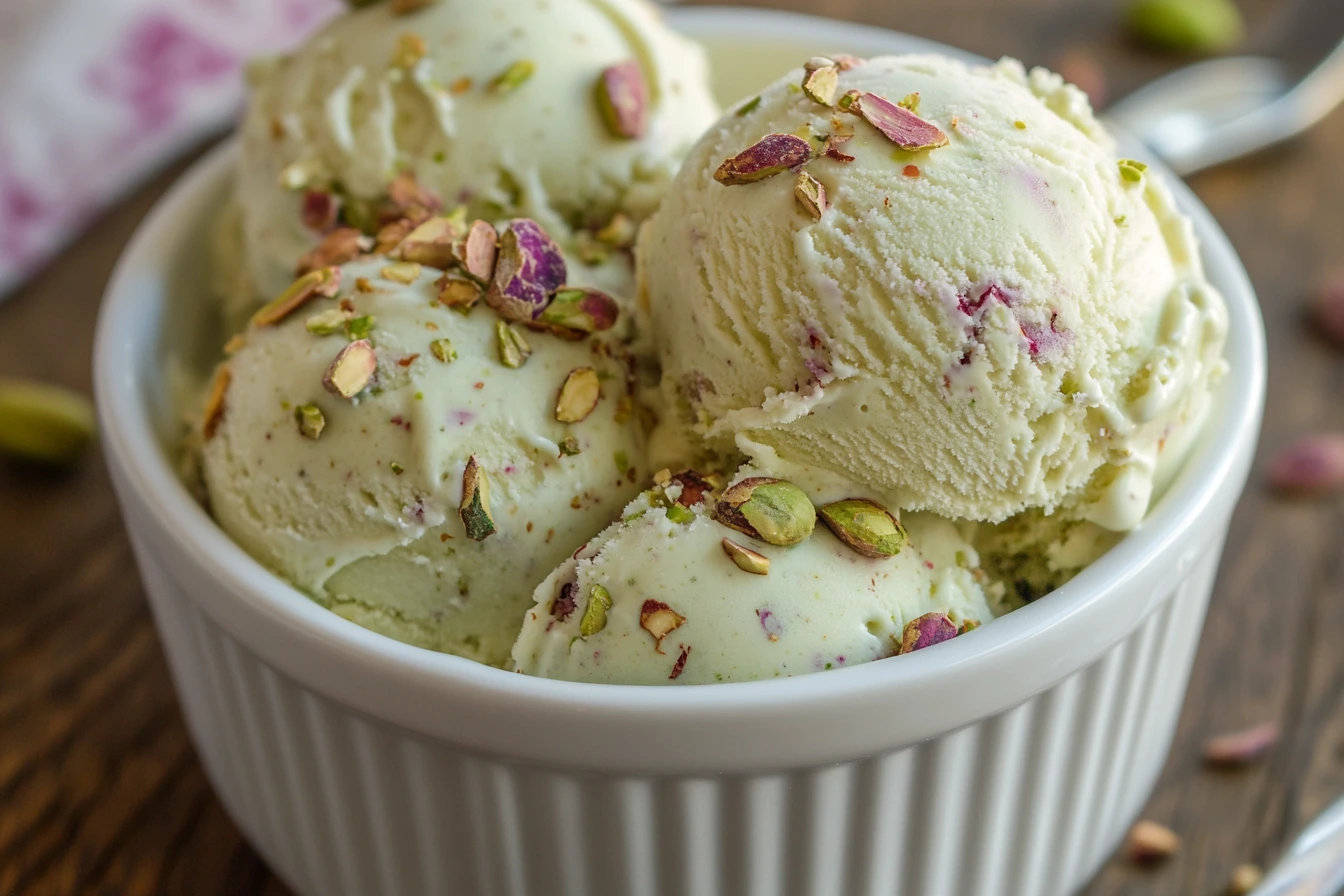
Transfer your freshly churned ice cream to a freezer-safe container. For an extra special touch, layer in additional chopped pistachios if desired. Press a piece of parchment paper directly on the surface of the ice cream to prevent ice crystals from forming. Freeze until firm, about 4 hours.
Expert Tips for Perfect Pistachio Ice Cream
Understanding the nuances of making homemade pistachio ice cream elevates your frozen dessert game. Let me share some professional insights that will help you achieve that perfect scoop every time.
Creating authentic pistachio gelato starts with selecting quality nuts. Look for pistachios with vibrant green color and no yellowing, as this indicates freshness and will provide the most intense flavor. Raw, unsalted pistachios give you complete control over the final taste of your frozen dessert.
Temperature control plays a crucial role in developing the perfect ice cream texture. Your custard base should be thoroughly chilled before churning—ideally 40°F or below. This ensures the smallest possible ice crystals form during freezing, resulting in that signature smooth, creamy consistency that makes homemade ice cream so special.
Achieving the Perfect Color
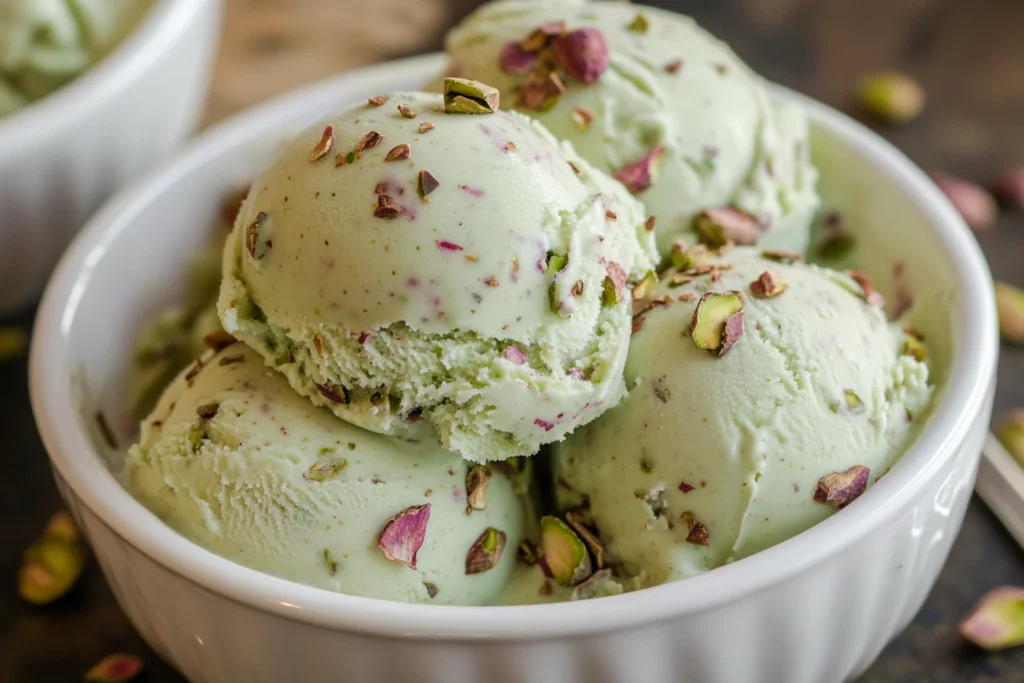
Many wonder about the pale green color of authentic pistachio ice cream. Unlike commercial versions often using artificial coloring, homemade ice cream gets its natural, subtle hue from pure pistachios. If you desire a more vibrant green, blanched pistachios with their skins removed, it will provide a more pronounced color while maintaining authentic flavor.
Storage and Serving Suggestions

For the best pistachio ice cream experience, store your frozen dessert in a container with a tight-fitting lid at the back of your freezer where temperature remains most constant. Before serving, let it sit at room temperature for 5-10 minutes – this allows the ice cream to soften slightly, releasing its full flavor profile and achieving that perfect scoopable consistency.
Flavor Variations
While traditional pistachio gelato is divine on its own, consider these complementary additions:
- A drizzle of honey enhances the natural sweetness of pistachios
- Dark chocolate shavings add delightful contrast
- A sprinkle of sea salt intensifies the nutty flavor
- Amaretti cookie crumbs introduce a pleasant textural element
Troubleshooting Your Pistachio Ice Cream
When making homemade pistachio ice cream, even experienced home cooks might encounter a few challenges. Let’s explore common issues and their solutions to ensure your frozen dessert turns out perfectly every time.
Understanding Ice Crystal Formation
If your pistachio ice cream develops a grainy texture, ice crystals are likely the culprit. This typically happens when the custard base isn’t cold enough before churning or when temperature fluctuations occur during freezing. Ensure your base is thoroughly chilled – preferably overnight – and your ice cream maker’s bowl is completely frozen. During storage, keep your ice cream at the back of the freezer where temperatures remain most stable.
Addressing Custard Concerns
Sometimes your custard might not thicken properly, which affects the final texture of your homemade ice cream. The key lies in proper tempering and temperature control. If your custard seems thin, it likely hasn’t reached the proper temperature (175°F) during cooking. Remember to cook slowly and stir constantly – patience here results in that perfectly smooth, creamy ice cream texture we’re aiming for.
Frequently Asked Questions
Can I make pistachio gelato without an ice cream maker? While an ice cream maker produces the smoothest texture, you can create a delicious no-churn version. Whip heavy cream until stiff peaks form, then fold in your sweetened pistachio mixture. Freeze for 6-8 hours, stirring every hour for the first three hours to break up ice crystals.
Why isn’t my ice cream as green as store-bought versions? Authentic pistachio ice cream has a naturally subtle color. Commercial versions often contain food coloring. Our recipe focuses on genuine pistachio flavor rather than artificial enhancements, resulting in a more sophisticated, natural appearance.
Can I use roasted, salted pistachios? While fresh, unsalted pistachios are ideal for homemade ice cream, you can use roasted, salted ones. Simply reduce the added salt in the recipe and give them a quick rinse before using. However, this might slightly affect the final texture and flavor intensity.
How long will my ice cream stay fresh? Properly stored pistachio ice cream maintains its best quality for up to two weeks. Keep it in an airtight container with parchment paper pressed directly on the surface to prevent freezer burn. For the finest texture and flavor, enjoy within the first week.
Bringing Your Pistachio Ice Cream Journey Together
The Art of Homemade Ice Cream Making
Creating homemade pistachio ice cream represents more than just following a recipe. It’s an exploration of culinary craftsmanship where each step builds upon the last, creating something truly extraordinary. When you understand the science behind ice cream making, you’ll appreciate how premium ingredients and careful attention to detail transform simple components into a luxurious frozen dessert that rivals any artisanal creation.
Understanding the Essence of Authentic Flavor
What distinguishes this pistachio gelato is its commitment to authenticity. Unlike mass-produced versions, your homemade creation celebrates the natural characteristics of pistachios. The subtle green hue comes purely from the nuts themselves, while the complex flavor profile develops through proper toasting and incorporation techniques. This attention to natural ingredients creates an ice cream that’s both sophisticated and genuine.
If you’re interested in exploring more ways to use pistachios in desserts, check out this pistachio chocolate bar recipe for another delightful treat.
The Learning Process
Mastering homemade ice cream takes practice, and each batch offers an opportunity to refine your technique. You might find that your first attempt has a slightly different texture than expected, or perhaps the pistachio flavor could be more pronounced. These variations are part of the learning process, teaching you how slight adjustments in technique can influence the final product. Remember that every experienced ice cream maker started exactly where you are.
For another pistachio-infused dish, try this pistachio salad—a unique way to enjoy the nut in a fresh, flavorful recipe.
Serving and Sharing
The joy of creating creamy ice cream extends beyond the making process to the moment of sharing. Whether you’re serving it at a dinner party or enjoying a quiet moment alone, homemade pistachio ice cream offers a taste of artisanal luxury that can’t be replicated by store-bought versions. The pride in serving something you’ve crafted from scratch adds an extra layer of satisfaction to every scoop.
For another homemade dessert idea, consider this decadent sweet potato brownies recipe, which balances indulgence with wholesome ingredients.
Future Explorations
As you become more confident with this recipe, consider exploring variations. Perhaps you’ll experiment with different nut combinations or try incorporating complementary flavors like dark chocolate or honey. The skills you’ve learned making this pistachio ice cream provide a foundation for endless frozen dessert creations.
A great companion flavor for pistachio is cherry—why not try making a cherry cheesecake for a pairing that brings out rich, nutty notes?
Final Thoughts
Remember that your ice cream making journey is personal and unique. Each time you make this recipe, you’ll discover new nuances and develop a deeper appreciation for the art of frozen desserts. The techniques you’ve learned here will serve you well in all your future culinary adventures, whether you’re making pistachio ice cream or exploring other flavors.
If you’re looking for more inspiration in the kitchen, check out this chocolate-covered almonds recipe for another nutty, chocolatey delight.

