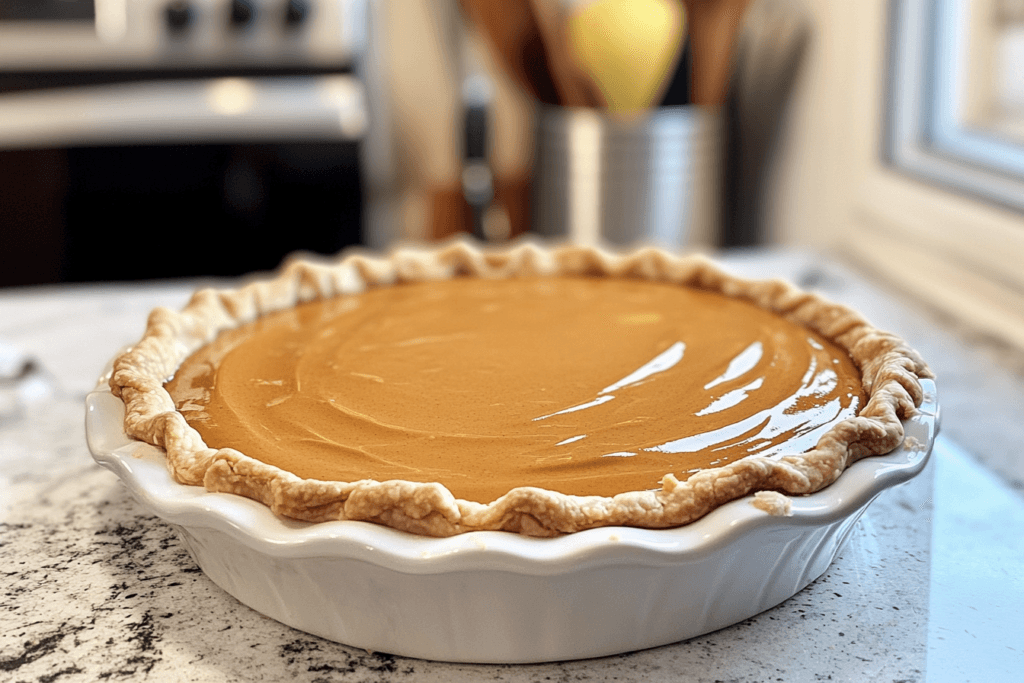
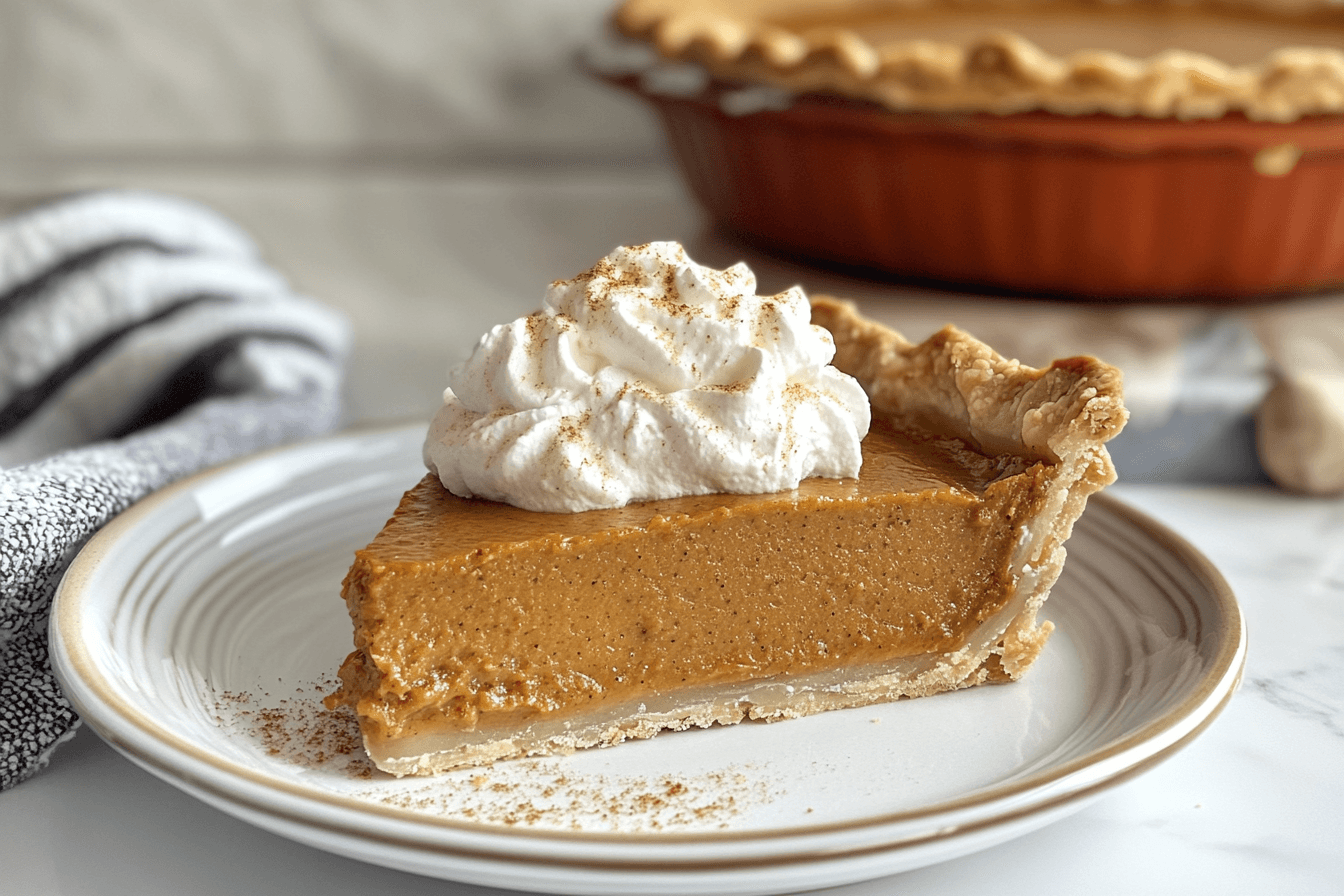
What comes to mind when you think of a pumpkin pie recipe with Condensed Milk? The slightly sweet, spiced filling, the flaky crust, and the comforting aroma of cinnamon, nutmeg, and cloves fill the air. While pumpkin pie is often made with regular milk or cream, using sweetened condensed milk makes the filling even richer, creamier, and smoother.
Sweetened condensed milk is a pantry staple that is commonly used in many dessert recipes for its ability to create a velvety texture and intense sweetness without needing to add additional sugar. By using condensed milk in pumpkin pie, you get a filling that is not only flavorful but also has a luxurious, silky smooth consistency that melts in your mouth.
What makes this recipe stand out is how simple it is to prepare. Many pumpkin pie recipes involve several steps and complex techniques, but the use of sweetened condensed milk reduces the need for added sugar, simplifying the recipe without compromising on flavor. This guide will ensure you create a delicious, picture-perfect pumpkin pie every time.
Table of Contents
Ingredients You Will Need
The ingredients for this pumpkin pie recipe With Condensed Milk are straightforward and easy to find at any grocery store. Here’s what you’ll need:
Pumpkin Filling
- 1 can (15 ounces) of pure pumpkin puree – Make sure to use pure pumpkin puree and not pumpkin pie filling, which already contains sugar and spices.
- 1 can (14 ounces) of sweetened condensed milk – This is the key to making the pie extra creamy and sweet.
- 2 large eggs – Eggs help to set the filling and give it the right texture.
- 1 teaspoon ground cinnamon – A must-have spice for that classic pumpkin flavor.
- 1/2 teaspoon ground nutmeg – Adds warmth and depth to the filling.
- 1/2 teaspoon ground ginger – For a bit of zing and extra flavor.
- 1/4 teaspoon ground cloves – Cloves give a subtle, aromatic taste to the pie.
- 1/2 teaspoon vanilla extract – Adds a hint of sweetness and complexity.
- 1/4 teaspoon salt – To balance the sweetness and enhance the flavors.
Crust Ingredients
- 1 store-bought pie crust (9-inch) or homemade pie crust – You can make your own, but using a pre-made crust can save you time and effort. If you want a homemade crust, you’ll need flour, butter, salt, and water.
- 1 tablespoon sugar – Optional to sprinkle on top of the crust before baking for a slightly sweet finish.
Step-by-Step Guide to Making Pumpkin Pie
1. Preparing the Crust
- If you’re using a store-bought crust, unroll it and fit it into a 9-inch pie dish. Press down gently on the edges to make sure it fits snugly into the dish. Trim any excess dough and crimp the edges for a decorative look.
- If you’re making your own crust, combine 1 1/4 cups of all-purpose flour, 1/2 teaspoon of salt, and 1/4 teaspoon of sugar. Cut in 1/2 cup of cold, unsalted butter until the mixture resembles coarse crumbs. Gradually add 3-4 tablespoons of ice water, mixing until a dough forms. Roll out the dough on a lightly floured surface to fit a 9-inch pie dish. Press into the dish, trim the edges, and crimp them for a decorative effect.
Pro tip: If you want to pre-bake the crust for a crispier bottom, bake it in a 350°F oven for 10 minutes. Cover the edges with foil to prevent over-browning.
2. Preparing the Pumpkin Filling
The key to a perfect pumpkin pie lies in the filling’s texture and balance of spices.
- Mix the pumpkin puree and sweetened condensed milk: Start by combining the pumpkin puree and sweetened condensed milk in a large bowl. Use a whisk to blend them until the mixture is smooth and uniform.
- Add the eggs: Add the eggs one at a time, whisking well after each addition to fully incorporate them. This ensures that the eggs don’t create any lumps in the filling and that the mixture remains silky.
- Spice it up: Next, add the ground cinnamon, nutmeg, ginger, cloves, and salt. Stir until the spices are evenly distributed. The aroma of the spices will fill the air, making your kitchen smell like a fall.
- Vanilla extract: Finally, add the vanilla extract. This extra touch enhances the flavor and provides a lovely aromatic note.
- Consistency check: The filling should be smooth, slightly thick, and have a creamy consistency that will hold together once baked.
3. Assembling the Pie
Once the crust is ready and the filling is mixed, it’s time to assemble your pumpkin pie. Pour the filling carefully into the prepared crust. Use a spatula to spread the filling evenly, ensuring it reaches all edges and corners.
For extra decoration, you can add a small swirl of whipped cream or sprinkle some extra cinnamon on top of the filling before baking.
4. Baking the Pie
- Initial high-temperature bake: Preheat your oven to 425°F. This high temperature will help the edges of the pie crust set while allowing the filling to cook evenly without overcooking. Bake the pie for 15 minutes at this temperature.
- Lower the temperature: After the initial bake, lower the oven temperature to 350°F and bake the pie for an additional 40-45 minutes. Check the pie about halfway through baking. If the crust edges are getting too dark, cover them with aluminum foil or a pie shield.
- Test for doneness: The pie is done when the center is firm but slightly jiggly. Gently tap the pie pan to check for any liquid movement. If the center is still runny, bake for an additional 5-10 minutes.

Tips for the Perfect Pumpkin Pie
How to Achieve the Ideal Texture
For a smooth and silky pumpkin pie, you need to pay attention to the texture of both the crust and the filling. Overbaking the pie can cause the filling to curdle, so make sure to remove it from the oven when it is just set. If your pie filling looks slightly underdone but is still firm, it will continue to cook as it cools.
Tip: Always let the pie cool completely before cutting. This allows the filling to firm up fully and makes slicing much easier.
Spices: What Works Best
If you don’t have individual spices like nutmeg, ginger, and cloves, you can use pre-made pumpkin pie spice. However, making your own spice blend gives you control over the flavor balance. Adjust the amount of each spice depending on your taste. If you prefer a spicier pie, add more ginger or cinnamon.
The Right Crust: Store-Bought vs. Homemade
A store-bought crust is convenient and saves time, but a homemade crust can be flakier and more flavorful. If you choose a store-bought crust, opt for one that’s all-butter for the best taste and texture.
How to Prevent a Soggy Bottom Crust
One common problem with pumpkin pie is a soggy bottom crust. Here are a few tips to prevent this:
- Pre-bake the crust: If you’re not using a fully baked crust, consider blind-baking it (baking the crust without the filling) for about 10-15 minutes before filling it with the pumpkin mixture.
- Use a glass pie dish: Glass dishes distribute heat more evenly, which can help ensure the bottom of your crust cooks properly.
- Brush with egg wash: After pre-baking the crust, brush the inside with a thin layer of beaten egg to create a barrier between the crust and the filling.
Enhancing Flavor with Add-Ins
For a unique twist, consider adding a handful of toasted nuts like pecans or walnuts to the filling or topping the pie with a dollop of whipped cream, caramel sauce, or a sprinkle of cinnamon sugar before serving.
Common Mistakes to Avoid
- Overbaking the pie: This can cause cracks in the filling. Always check the pie by gently shaking it to see if the center is still a little jiggly.
- Using pumpkin pie filling instead of pumpkin puree: Make sure you’re using pure pumpkin puree, as pie filling contains added sugar and spices.
- Not cooling the pie properly: Let the pie cool completely at room temperature before refrigerating it to avoid condensation forming inside.
Variations and Creative Twists on Pumpkin Pie
Vegan Pumpkin Pie with Condensed Coconut Milk
For a vegan version of this recipe, simply substitute the sweetened condensed milk with sweetened condensed coconut milk. You can also swap the eggs with flax eggs (1 tablespoon of ground flaxseed mixed with 3 tablespoons of water). This creates a rich, dairy-free version of pumpkin pie with the same creamy texture.
Gluten-Free Pumpkin Pie
To make this recipe gluten-free, use a gluten-free pie crust. Many excellent store-bought gluten-free options are available, or you can make your own using gluten-free flour. The filling will remain the same.
Pumpkin Pie with a Streusel Topping
For a crunchy topping, add a streusel to the pie before baking. Combine 1/2 cup of flour, 1/4 cup of brown sugar, and 1/4 cup of melted butter. Mix until crumbly, then sprinkle over the top of the pie before baking. The streusel will caramelize and add an extra layer of texture to the pie.
Frequently Asked Questions
Can I use fresh pumpkin instead of canned pumpkin puree?
Yes! Roast a fresh pumpkin until it’s soft, then scoop out the flesh and blend it until smooth. For this recipe, you’ll need about 2 cups of pumpkin puree.
How do I store leftover pumpkin pie?
Store pumpkin pie in the refrigerator, covered with plastic wrap or foil, for up to 4 days.
Can I make pumpkin pie ahead of time?
Absolutely! You can bake the pie a day or two in advance. Just make sure to refrigerate it once it has cooled completely.
Conclusion
Pumpkin pie with condensed milk is a perfect dessert for any occasion, offering the right combination of sweetness, spices, and creamy texture.
By following the steps outlined in this article, you can create a pumpkin pie that’s rich, smooth, and perfectly spiced every time. Don’t forget to get creative with variations and toppings to make it uniquely your own. Don’t forget to explore other delicious recipes, such as a Crockpot Hot Dog Chili Recipe or Thanksgiving Cookie Recipes, for more inspiration to complement your meal. Happy baking!

