Tiramisu cheesecake is the ultimate fusion of two beloved desserts: the rich and creamy texture of cheesecake combined with the bold flavors of classic Italian tiramisu. This decadent treat features layers of espresso-soaked cookies, velvety mascarpone-infused cheesecake, and a dusting of cocoa powder for the perfect finishing touch. Whether you’re a cheesecake lover, a tiramisu enthusiast, or just someone who enjoys indulgent desserts, this recipe is bound to become a favorite.
In this article, we’ll explore everything you need to know about tiramisu cheesecake, from its origins to step-by-step instructions, variations, expert tips, and storage methods. By the end, you’ll be equipped with all the knowledge to create a stunning tiramisu cheesecake that looks as good as it tastes!
Table of Contents
Ingredients for the Perfect Tiramisu Cheesecake
Essential Ingredients
To make the perfect tiramisu cheesecake, you’ll need a combination of classic cheesecake ingredients and traditional tiramisu components. Here’s what you’ll need:
For the Crust:
- Graham crackers or ladyfingers – Provides the base for the cheesecake. Ladyfingers will enhance the tiramisu flavor, while graham crackers offer a classic cheesecake texture.
- Butter (melted) – Helps bind the crust together.
- Sugar – Adds a slight sweetness and enhances the flavor.
- Espresso or strong coffee – Lightly brushed over the crust to give it a tiramisu-like taste.
For the Cheesecake Filling:
- Cream cheese (softened) – The foundation of a rich and creamy cheesecake.
- Mascarpone cheese – The key ingredient in tiramisu, adding a smooth and velvety texture.
- Granulated sugar – Balances the flavors and enhances the sweetness.
- Eggs – Provide structure and help the cheesecake set properly.
- Vanilla extract – Adds depth and warmth to the flavor profile.
- Heavy cream – Ensures a creamy and light consistency.
- Espresso or strong brewed coffee – Enhances the tiramisu flavor in the cheesecake batter.
For the Topping:
- Cocoa powder – The signature topping for tiramisu, giving it a rich chocolate flavor.
- Whipped cream – Optional, but adds an airy, delicate touch.
- Chocolate shavings (optional) – For an extra decorative and indulgent finish.
Best Substitutes for Common Ingredients
If you need to adjust the recipe based on dietary needs or ingredient availability, here are some great alternatives:
- Cream cheese substitute: You can use ricotta cheese blended with Greek yogurt for a slightly lighter texture.
- Mascarpone alternative: A mixture of cream cheese and heavy cream can mimic the richness of mascarpone.
- Graham cracker crust alternative: Use crushed vanilla wafers, Oreos, or a mix of ground almonds and butter for a nutty variation.
- Dairy-free option: Swap out cream cheese and mascarpone for dairy-free cream cheese alternatives and coconut cream.
- Egg-free cheesecake: Replace eggs with cornstarch (1 tablespoon per egg) to help the cheesecake set.
By choosing the right ingredients and substitutes, you can tailor this tiramisu cheesecake to your preferences without compromising on flavor!
Step-by-Step Guide to Making Tiramisu Cheesecake
Preparing the Crust
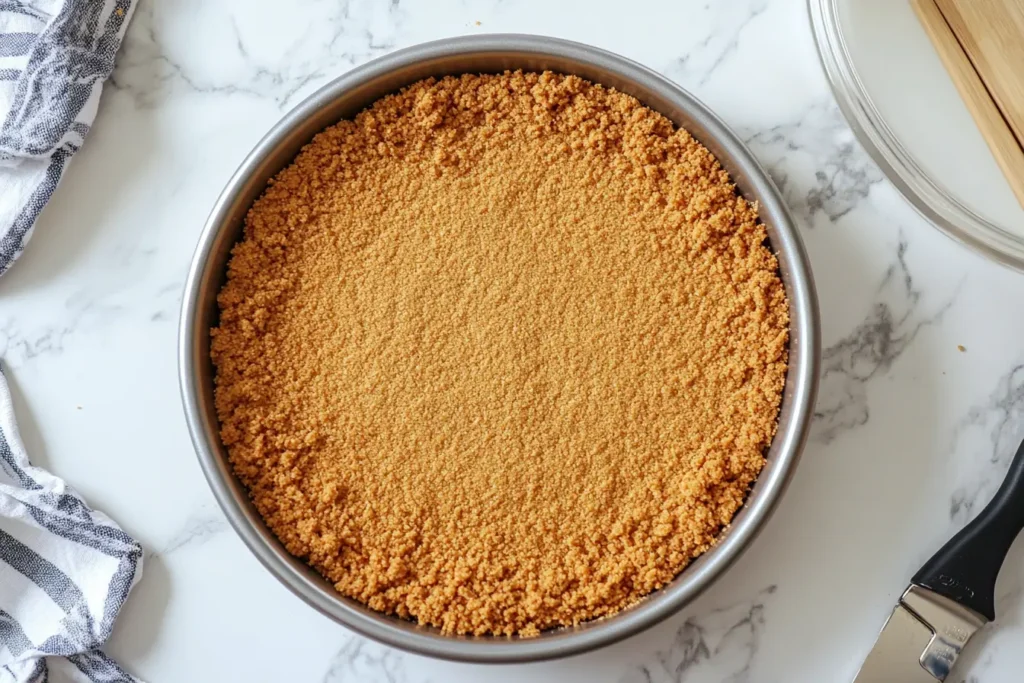
- Crush the cookies – If using graham crackers or ladyfingers, crush them into fine crumbs using a food processor or by placing them in a ziplock bag and crushing them with a rolling pin.
- Mix with butter and sugar – In a bowl, combine the crushed cookies with melted butter and sugar until the mixture resembles wet sand.
- Press into the pan – Firmly press the crust mixture into the bottom of a springform pan, ensuring an even layer.
- Brush with espresso – Lightly brush or drizzle espresso over the crust to infuse it with a classic tiramisu flavor.
- Bake (if needed) – For a firmer crust, bake at 325°F (163°C) for 8-10 minutes, then let it cool. If making a no-bake cheesecake, refrigerate the crust while preparing the filling.
Making the Cheesecake Filling
- Beat the cream cheese and mascarpone – Using a hand mixer or stand mixer, beat the softened cream cheese and mascarpone together until smooth and creamy.
- Add sugar and vanilla – Mix in the granulated sugar and vanilla extract, continuing to beat until fully incorporated.
- Incorporate eggs (one at a time) – Add the eggs one at a time, mixing on low speed to avoid overbeating (which can cause cracks in the cheesecake).
- Mix in heavy cream and espresso – Slowly pour in the heavy cream and espresso, mixing until the batter is smooth and well-blended.
Layering for the Best Flavor
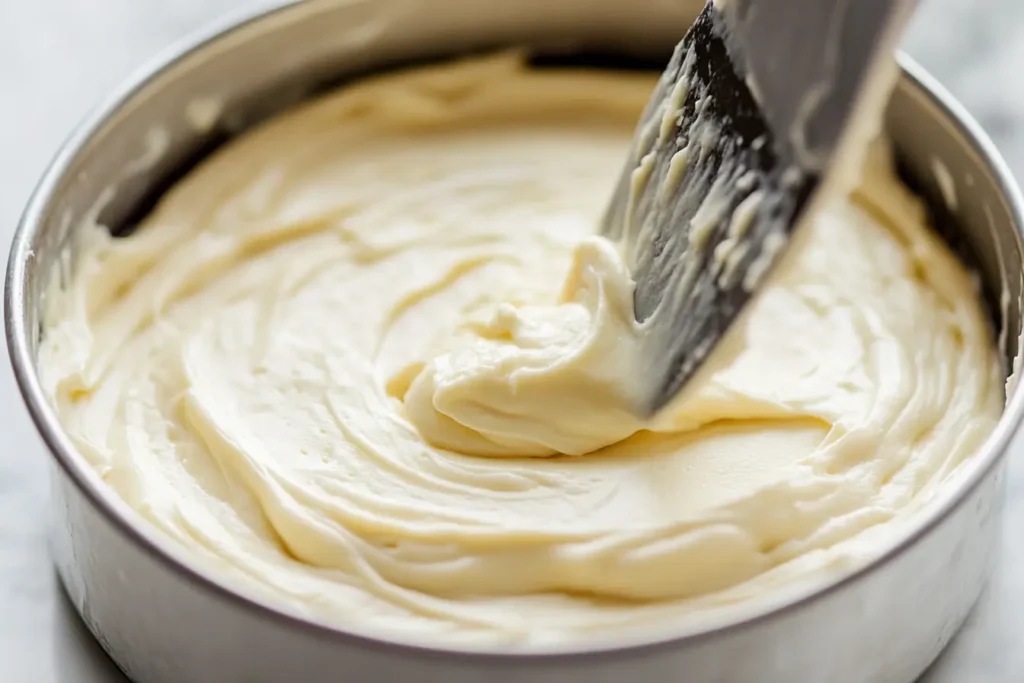
- Pour half of the cheesecake batter over the crust – Spread it evenly using a spatula.
- Add a layer of soaked ladyfingers – Briefly dip ladyfingers in espresso and arrange them over the cheesecake layer.
- Pour the remaining cheesecake batter – Spread it evenly to cover the ladyfingers.
- Tap the pan gently – This helps remove any air bubbles and ensures an even texture.
Baking and Chilling Tips
- Bake using a water bath – Place the cheesecake pan in a larger pan filled with hot water. This prevents cracks and ensures an even, creamy texture.
- Bake at 325°F (163°C) for about 50-60 minutes – The cheesecake should be set but slightly jiggly in the center.
- Cool gradually – Turn off the oven, crack the door open, and let the cheesecake cool inside for an hour to prevent sudden temperature changes.
- Refrigerate for at least 6 hours (or overnight) – This allows the flavors to meld and the texture to fully set.
With these detailed steps, your tiramisu cheesecake will turn out perfectly smooth, creamy, and full of rich flavors!
Variations of Tiramisu Cheesecake
Looking for more cheesecake inspiration? You might also love this Easy Churro Cheesecake Recipe for a cinnamon-infused delight.
No-Bake Tiramisu Cheesecake
If you don’t want to use the oven, you can make a delicious no-bake tiramisu cheesecake with a few simple adjustments:
- Use a gelatin-based filling – Since there’s no baking involved, adding a small amount of gelatin (dissolved in warm water) will help the cheesecake set properly.
- Chill instead of baking – Instead of baking the cheesecake, allow it to set in the refrigerator for at least 6 hours or overnight.
- Use a ladyfinger crust – Instead of graham crackers, press crushed ladyfingers into the bottom of the pan for a more authentic tiramisu experience.
- Layer with espresso-dipped ladyfingers – This adds depth of flavor without needing the oven.
This version is lighter and creamier, perfect for hot weather or when you want a quicker alternative.
Gluten-Free and Vegan Alternatives
For those with dietary restrictions, tiramisu cheesecake can be easily modified to suit gluten-free and vegan diets:
- Gluten-Free Option:
- Use gluten-free graham crackers or almond flour for the crust.
- Make sure your ladyfingers (if using) are certified gluten-free.
- Vegan Alternative:
- Replace cream cheese with dairy-free cream cheese or blended cashews.
- Substitute mascarpone with a mix of coconut cream and tofu for a creamy texture.
- Use aquafaba (chickpea water) or cornstarch as an egg replacement.
- Swap butter for coconut oil and heavy cream for coconut milk.
These adjustments ensure that everyone can enjoy a delicious tiramisu cheesecake without compromising on taste.
Alcohol-Free Version
Traditional tiramisu includes coffee liqueur (such as Kahlúa) or Marsala wine, but if you prefer an alcohol-free version, here’s what you can do:
- Replace liqueur with extra-strong brewed espresso or coffee extract.
- For a deeper flavor, add a splash of vanilla extract or caramel syrup instead of alcohol.
This ensures that even kids and non-alcoholic drinkers can enjoy the dessert without missing out on the authentic tiramisu taste!
With these custom variations, you can tailor your tiramisu cheesecake to fit any preference or dietary need.
Tips for the Best Tiramisu Cheesecake
Common Mistakes to Avoid
Making tiramisu cheesecake can be simple, but a few mistakes can affect the final result. Here’s what to watch out for:
- Overmixing the batter – Overbeating the cheesecake batter can incorporate too much air, leading to cracks when baked. Mix on low speed and just until ingredients are combined.
- Skipping the water bath – Baking cheesecake without a water bath can cause it to dry out or crack. Always place the pan in a larger baking dish with hot water.
- Not chilling long enough – For the best texture and flavor, refrigerate the cheesecake for at least 6 hours (or overnight) before serving.
- Over-soaking the ladyfingers – Dipping the ladyfingers too long in espresso can make them soggy and overpower the cheesecake texture. A quick dip (1-2 seconds) is enough.
- Using cold ingredients – Bring cream cheese, mascarpone, and eggs to room temperature before mixing. This ensures a smooth, lump-free filling.
How to Get the Perfect Texture
For a rich, creamy cheesecake that melts in your mouth, follow these expert tips:
- Use full-fat ingredients – Low-fat cream cheese or mascarpone can make the cheesecake grainy. Stick to full-fat versions for the best texture.
- Slow cooling process – After baking, turn off the oven and let the cheesecake cool inside with the door slightly open for about an hour. This prevents cracking.
- Cover with plastic wrap while chilling – This keeps the cheesecake from absorbing fridge odors and helps maintain a smooth top.
- Let it sit before serving – Take the cheesecake out of the fridge 15-20 minutes before slicing to let it soften slightly for a smoother texture.
By following these proven techniques, you’ll get the creamiest, most decadent tiramisu cheesecake every time!
Serving and Presentation Ideas
Plating and Decoration Tips
A beautifully presented tiramisu cheesecake enhances the overall experience. Here’s how to make it look as impressive as it tastes:
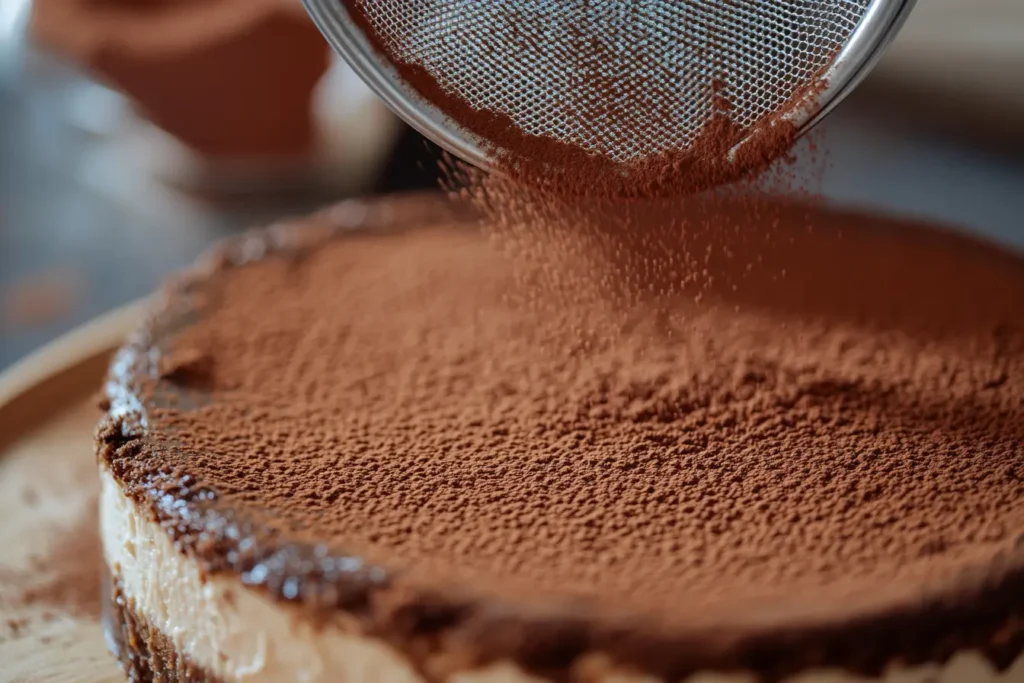
- Dust with cocoa powder – Use a fine-mesh sieve to evenly dust unsweetened cocoa powder over the top before serving.
- Add chocolate shavings – Shave dark or milk chocolate over the cheesecake for extra elegance.
- Pipe whipped cream swirls – Use a piping bag to create decorative whipped cream swirls along the edges.
- Top with coffee beans – A few whole coffee beans on top can add a nice visual contrast and a subtle crunch.
- Drizzle with chocolate or caramel sauce – Lightly drizzle over the top for a gourmet look.
- Use a stencil for patterns – Place a stencil over the cheesecake before dusting with cocoa powder to create beautiful designs.
Best Pairings (Drinks and Sides)
Tiramisu cheesecake pairs well with a variety of beverages and side treats:
- Coffee-based drinks: Espresso, cappuccino, or a classic latte enhance the rich coffee flavors in the cheesecake.
- Milkshakes: Try a Banana Pudding Milkshake for a deliciously creamy contrast.
- Fresh berries: Strawberries, raspberries, or blueberries add a refreshing contrast to the richness.
- Biscotti or ladyfingers: Serve a few crisp cookies on the side for a textural contrast.
Slicing and Serving Tips
- Use a hot knife for clean slices – Run a knife under hot water, dry it, then slice for a perfect cut.
- Wipe between cuts – Clean the knife between each slice to maintain neat, defined portions.
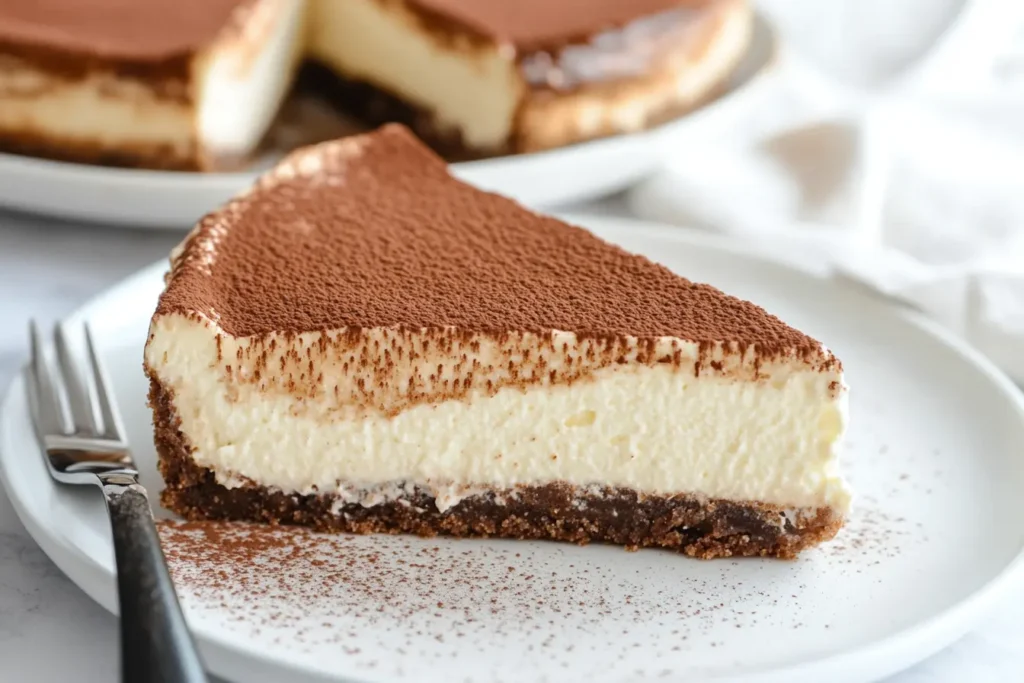
- Serve slightly chilled – Let the cheesecake sit at room temperature for 10-15 minutes before serving for the best texture.
Storing and Freezing Tiramisu Cheesecake
How to Store in the Fridge
To keep your tiramisu cheesecake fresh and flavorful, follow these storage tips:
- Cover it properly – Store the cheesecake in an airtight container or cover it tightly with plastic wrap to prevent it from absorbing fridge odors.
- Keep it refrigerated – Since the cheesecake contains dairy, always store it in the refrigerator at 40°F (4°C) or below.
- Best enjoyed within 3-5 days – While it remains safe to eat for up to a week, the best texture and flavor are preserved within the first few days.
Freezing for Long-Term Use
If you want to make tiramisu cheesecake ahead of time, freezing is a great option!
- Freeze before adding cocoa powder – If planning to freeze, skip the final dusting of cocoa powder until after thawing to maintain freshness.
- Wrap it well – Wrap the cheesecake tightly in plastic wrap, followed by a layer of aluminum foil to prevent freezer burn.
- Store in an airtight container – For extra protection, place the wrapped cheesecake in a freezer-safe container.
- Label with the date – Cheesecake stays fresh in the freezer for up to 2 months.
- Thaw slowly in the fridge – Move the cheesecake to the refrigerator 24 hours before serving for the best texture.
Frequently Asked Questions (FAQs)
Can I make this without coffee?
Yes! You can replace espresso with hot chocolate, caramel syrup, or vanilla extract for a coffee-free version.
What’s the best cheese to use?
Mascarpone is ideal, but you can use a mix of cream cheese and heavy cream if mascarpone is unavailable.
How long does it take to chill?
At least 6 hours, but overnight is best for maximum flavor and texture.
Can I make this in advance?
Yes! Tiramisu cheesecake actually tastes better when made a day ahead, allowing the flavors to develop.
Conclusion
Tiramisu cheesecake is the perfect fusion of two classic desserts, combining the creamy richness of cheesecake with the bold, coffee-infused flavors of tiramisu. Whether baked or no-bake, gluten-free or vegan, there’s a version for everyone to enjoy. By following expert tips on preparation, storage, and serving, you can create a show-stopping dessert that will impress you every time!
Now that you have the ultimate tiramisu cheesecake recipe, will you be making it for a special occasion or just to treat yourself? 🍰😊
Looking for more cheesecake ideas? Try this Christmas Cheesecake Recipe for a festive twist or explore another irresistible fusion with this Easy Churro Cheesecake Recipe.
Print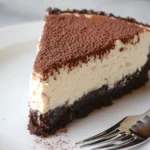
Tiramisu Cheesecake
- Total Time: Approximately 7 hours (including chilling time)
- Yield: 12 servings 1x
Description
This Tiramisu Cheesecake combines the rich, creamy texture of classic cheesecake with the bold flavors of traditional Italian tiramisu. Featuring layers of espresso-soaked ladyfingers, a luscious mascarpone filling, and a dusting of cocoa powder, this dessert offers a delightful fusion that’s sure to impress.
Ingredients
For the Crust:
- 1 ½ cups (180g) graham cracker crumbs or crushed ladyfingers
- ¼ cup (50g) granulated sugar
- 6 tablespoons (85g) unsalted butter, melted
- 2 tablespoons brewed espresso or strong coffee
For the Cheesecake Filling:
- 16 oz (450g) cream cheese, softened
- 8 oz (225g) mascarpone cheese, softened
- ¾ cup (150g) granulated sugar
- 3 large eggs{{MetaTags.title || ‘Nutritionix’}}
- 2 teaspoons vanilla extractReddit
- ½ cup (120ml) heavy cream
- ¼ cup (60ml) strong brewed espresso or coffee
For Layering:
- 10–12 ladyfingers
- ½ cup (120ml) brewed espresso or coffee, cooled
For the Topping:
- 2 tablespoons unsweetened cocoa powder
- ½ cup (120ml) whipped cream (optional)
- Chocolate shavings (optional)
- Whole coffee beans (optional, for decoration)
Instructions
- Prepare the Crust: Preheat your oven to 325°F (163°C). In a medium bowl, combine the graham cracker crumbs (or crushed ladyfingers) and granulated sugar. Add the melted butter and mix until the mixture resembles wet sand. Press this mixture firmly into the bottom of a 9-inch springform pan. Brush the crust lightly with the brewed espresso to infuse flavor. Bake for 8-10 minutes, then let it cool slightly.
- Make the Filling: In a large mixing bowl, beat the softened cream cheese and mascarpone cheese together until smooth and creamy. Add the granulated sugar and continue to mix until well combined. Incorporate the eggs one at a time, mixing on low speed to avoid overbeating. Add the vanilla extract, heavy cream, and brewed espresso, mixing until the batter is smooth.
- Layer the Cheesecake: Pour half of the cheesecake batter over the prepared crust, spreading it evenly. Briefly dip each ladyfinger into the cooled espresso and arrange them in a single layer over the batter. Pour the remaining cheesecake batter over the ladyfingers, smoothing the top.
- Bake the Cheesecake: Place a shallow pan filled with hot water on the lower rack of the oven to create steam, which helps prevent cracks. Position the cheesecake on the middle rack above the water bath. Bake for 50-60 minutes, or until the edges are set, and the center still has a slight jiggle.
- Cool and Chill: Once baked, turn off the oven and crack the door open, allowing the cheesecake to cool gradually for about an hour. This slow cooling helps prevent cracking. Afterward, refrigerate the cheesecake for at least 6 hours or overnight to fully set and develop flavors.
- Add the Topping: Before serving, dust the top of the cheesecake generously with unsweetened cocoa powder. If desired, pipe whipped cream around the edges and garnish with chocolate shavings and whole coffee beans for an elegant presentation.
Notes
- Room Temperature Ingredients: Ensure all dairy ingredients (cream cheese, mascarpone, eggs) are at room temperature before mixing. This helps achieve a smooth, lump-free batter.
- Preventing Cracks: Baking the cheesecake with a water bath (placing the springform pan in a larger pan filled with hot water) can help prevent cracks and ensure even baking.
- Serving Suggestion: For clean slices, use a sharp knife dipped in hot water and wiped dry between cuts.
- Prep Time: 25 minutes
- Cook Time: 50-60 minutes
- Category: Dessert
- Method: Baking
- Cuisine: Italian-American Fusion
Nutrition
- Serving Size: 1 slice (approximately 145g)
- Calories: 534
- Sugar: 64g
- Sodium: 450mg
- Fat: 70g
- Saturated Fat: 41g
- Unsaturated Fat: 29g
- Trans Fat: 2g
- Carbohydrates: 75g
- Fiber: 1g
- Protein: 11g
- Cholesterol: 310mg

